
How to increase the WordPress memory limit
Many modern WordPress applications and plugins require more memory than the default allocation. Without enough memory, your site may experience slow performance or errors, particularly when using backup, caching, or optimisation plugins. By following these methods, you can increase the memory limit and ensure your site runs smoothly. Always back up your files before making any changes.
Updating the php.ini file in cPanel
The web hosting server configuration prevents the direct editing of the php.ini file. To edit the INI we use the MultiPHP ini editor which helps prevent issues arising from incorrectly configured .ini files.
1. Log in to your cPanel control panel, scroll down to the software section.
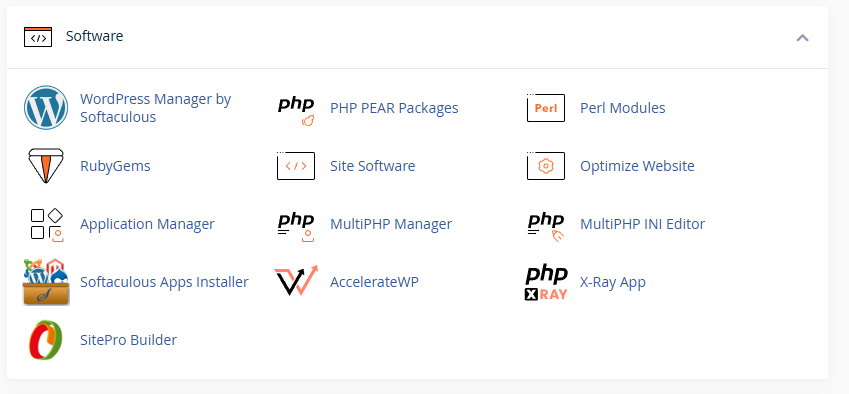
2. From here navigate to and click on the MultiPHP INI editor.
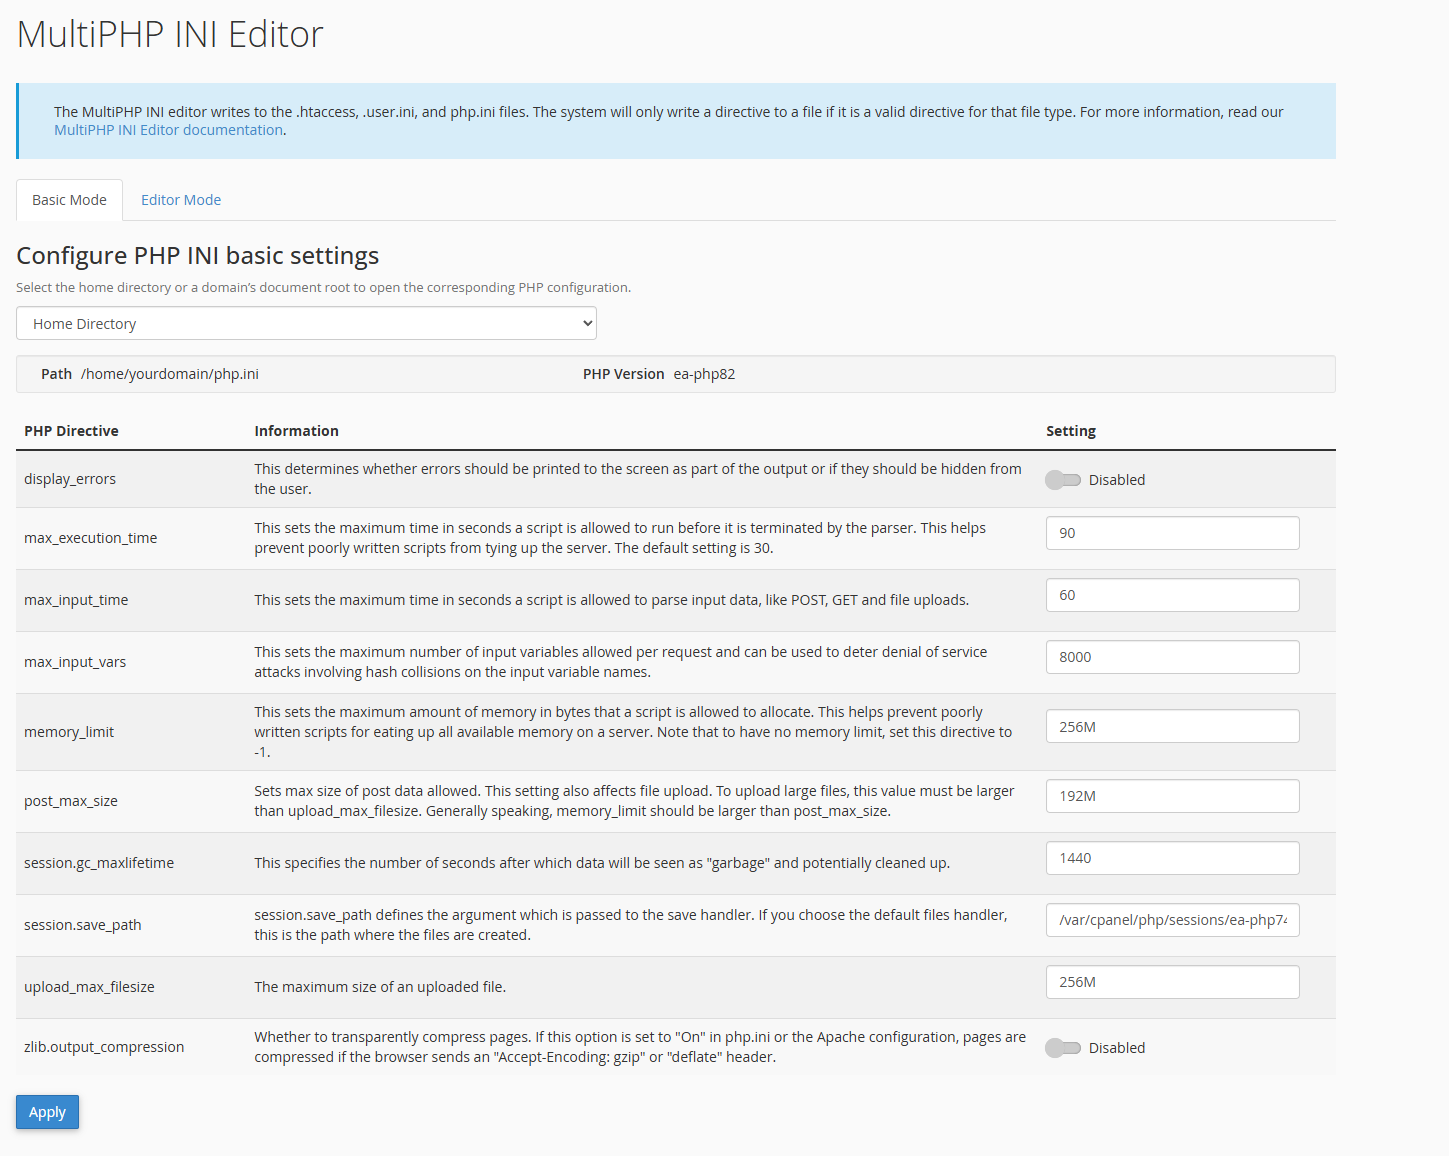
3. Find the memory_limit option and increase it to 256M (or a higher value if needed). When you’ve made that change click on Save.

4. In some environments, a PHP service restart may be required for the new settings to take effect.
5. To confirm the change, go to Tools > Site Health > Info > Server in your WordPress dashboard. Look for the memory limit setting.
If the memory limit has not increased as expected, your hosting provider may have restrictions in place. In this case, contact them for further assistance.
Editing wp-config.php
If changing the PHP settings doesn’t work, you can try modifying the wp-config.php file. Adding the following line before the line that reads “That’s all, stop editing!” will help.
define('WP_MEMORY_LIMIT', '256M');