How to install MERN stack on AlmaLinux
Installing the MERN stack (MongoDB, Express.js, React, Node.js) on AlmaLinux is a great choice for VPS hosting. Compared to the LEMP stack (Linux, NGINX, MariaDB, PHP), MERN offers a more modern approach, especially for JavaScript-based applications. With JavaScript running across the entire stack, it simplifies development and provides better scalability for dynamic, real-time applications.
React is a popular front-end library used for building single-page applications (SPAs) with a component-based architecture. Node.js, with its non-blocking, event-driven design, handles multiple concurrent connections efficiently, making it ideal for real-time applications. MongoDB, a NoSQL database, integrates well with JavaScript, unlike traditional SQL databases found in the LEMP stack. Alternatives to React include Vue.js and Next.js, which offer different approaches but serve similar purposes.
AlmaLinux is an open-source Linux distribution designed as a stable, enterprise-grade alternative to CentOS. It is fully binary-compatible with RHEL, making it a solid choice for hosting environments. By using AlmaLinux with the MERN stack, you can build scalable and high-performance applications suitable for anything from small projects to large-scale platforms.
Preparing your VPS for MERN
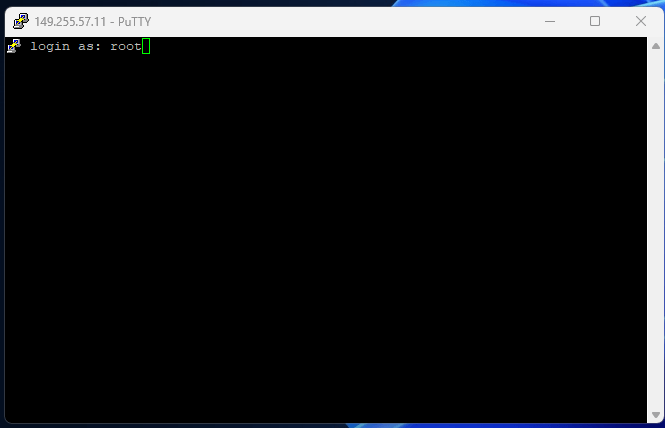
1. To begin login to your server, with the credentials provided in your welcome email using PuTTY or a terminal window connect with the servers IP or the hostname.

2. This guide is based on a new VPS with AlmaLinux 8 installed. Make sure that all of the installed packages are updated using dnf using the command below.
dnf update -y3. To allow traffic to reach NGINX through the firewall you need to open connections over ports 80 (non-SSL) and 443 (SSL) you can check which connections are currently open with the following command.
firewall-cmd --zone=public --list-services3.1 The following screenshot confirms that by default your firewall is not configured to allow connections of port 80 or 443. Run the following commands to enable traffic over those ports and reload the firewall.

firewall-cmd –permanent -–zone=public -–add-service=httpfirewall-cmd –permanent -–zone=public -–add-service=httpsfirewall-cmd -–reload3.2 Now, to check the current status of those ports in the firewall run the command from earlier again which should return the following output.
firewall-cmd --zone=public --list-services
Install Node.js using FNM
1. To start install FNM (Fast Node Manager) using the following command. For more information check out node.js.org.
curl -fsSL https://fnm.vercel.app/install | bash2. With FNM installed you need to reload the shell to enable the FNM command, to do this use the command below.
source ~/.bashrc3. Moving on install the latest LTS (long-term support) version of Node.js, set it as the default and check the version using the commands below.
fnm install --ltsfnm default --20.17.0node -vInstall MongoDB
1. First off because MongoDB does not exist by default in AlmaLinux’s default package repositories we will need to manually create the .repo file using nano and add the code shown below.
nano /etc/yum.repos.d/mongodb-org-5.0.repo[mongodb-org-5.0]
name=MongoDB Repository
baseurl=https://repo.mongodb.org/yum/redhat/8/mongodb-org/5.0/x86_64/
gpgcheck=1
enabled=1
gpgkey=https://www.mongodb.org/static/pgp/server-5.0.asc
2. After that’s added we can run dnf to install MongoDB on your VPS.
dnf install -y mongodb-org3. Finally, start and enable MongoDB, then verify its working with the status command.
systemctl start mongodsystemctl enable mongodsystemctl status mongodCreate Express server
1. To start we need to create a directory and then use the change directory command to enter that directory.
mkdir ~/my-mern-appcd ~/my-mern-app2. Moving on you need to initialise the Node.js application with the following command.
npm init -y3. After that we can install Express.js with node package manager or npm with the command below.
npm install express4. Now that Express is installed we need to add a server.js file in the my-mern-app directory you made earlier and add the code below.
nano server.jsconst express = require('express');
const mongoose = require('mongoose');
const app = express();
const PORT = process.env.PORT || 5000;
// Middleware
app.use(express.json());
// Connect to MongoDB
mongoose.connect('mongodb://localhost:27017/mydatabase', {
useNewUrlParser: true,
useUnifiedTopology: true,
}).then(() => {
console.log('MongoDB connected');
}).catch(err => {
console.error('MongoDB connection error:', err);
});
// Sample Route
app.get('/', (req, res) => {
res.send('Hello World!');
});
app.listen(PORT, () => {
console.log(`Server is running on port ${PORT}`);
});
5. Finally start Express.js with the command below.
node server.jsInstall and Build React with create react app
1. To start off install create react app app and use CD to enter your app directory.
npx create-react-app clientcd client2. Once you have finished your project you can build it with the following command.
npm run build