How to install LEMP stack on Almalinux
Installing the LEMP stack (Linux, NGINX, MariaDB, PHP) on Almalinux is a great choice for VPS. Its lightweight, high performance design can provide significant performance benefits over its Apache based equivalent. The LEMP stack is highly popular alternative to building a LAMP stack server.
Scaling your VPS hosting to match increased demand is simplified allowing you to effortlessly support higher traffic levels from blogs to busy ecommerce sites. Get started with your LEMP stack VPS now by following along with our guide.
Preparing your VPS for a LEMP Stack
1. To start, login to your server using either PuTTY or a Terminal window. When logging in use the credentials provided in your welcome email, you can connect using either the server IP or the hostname depending on DNS propagation.
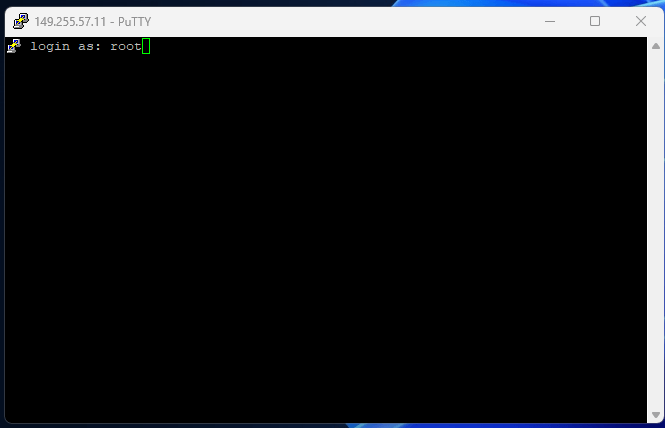
2. For the purposes of this guide we will be treating this as a newly ordered VPS with Almainux 8 installed. To start we will check that installed packages are updated, to do this you can use either yum or dnf (the guide uses dnf). The command below will cycle through any potential updates and require you to confirm before updating.
dnf update3. To allow traffic to reach NGINX through the firewall you need to open connections over ports 80 (non-SSL) and 443 (SSL) you can check which connections are currently open with the following command.
firewall-cmd --zone=public --list-services3.1 The following screenshot confirms that by default your firewall is not configured to allow connections of port 80 or 443. Run the following commands to enable traffic over those ports and reload the firewall.

firewall-cmd –permanent -–zone=public -–add-service=httpfirewall-cmd –permanent -–zone=public -–add-service=httpsfirewall-cmd -–reload3.2 Now, to check the current status of those ports in the firewall run the command from earlier again which should return the following output.
firewall-cmd --zone=public --list-services
Install & Configure NGINX Web Server
1. After enabling traffic across the firewall we can move on to install and configuration of NGINX on your VPS. We will start by checking available NGINX versions and enabling the latest version unless an older version is required. The following commands will check the module list and return an output similar to the one below.
dnf module list nginx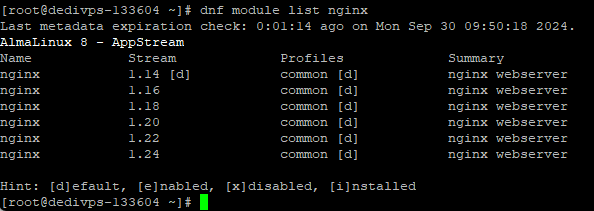
dnf module enable nginx:1.24dnf install epel-release -ydnf install nginx -y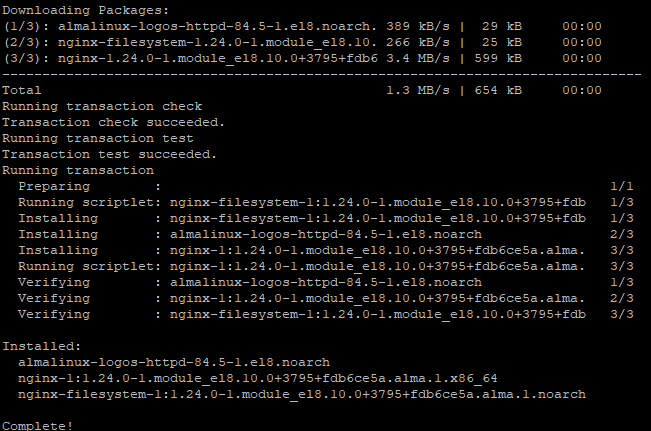
2. Afterwards start and enable NGINX with the following commands
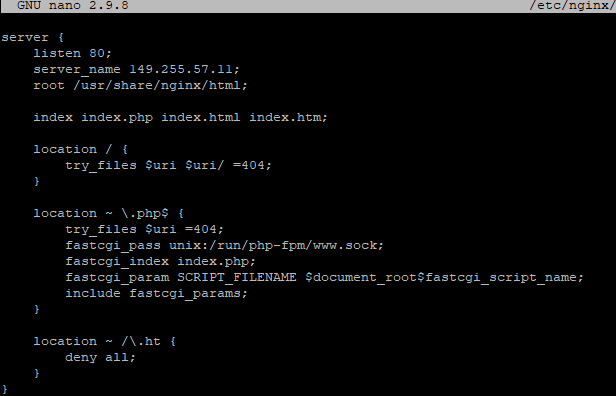
systemctl start nginxsystemctl enable nginx3. Now, using the nano and the provided configuration update the default conf and amend with your servers IP or hostname.
nano /etc/nginx/conf.d/default.confserver {
listen 80;
server_name **SWAP WITH HOSTNAME OR IP**;
root /usr/share/nginx/html;
index index.php index.html index.htm;
location / {
try_files $uri $uri/ =404;
}
location ~ \.php$ {
try_files $uri =404;
fastcgi_pass unix:/run/php-fpm/www.sock;
fastcgi_index index.php;
fastcgi_param SCRIPT_FILENAME $document_root$fastcgi_script_name;
include fastcgi_params;
}
location ~ /\.ht {
deny all;
}
}
4. Finally reload the NGINX service to apply the conf changes.
systemctl reload nginxInstall & Configure MariaDB Database
1. Before getting start first lets check which versions of MariaDB are currently available from the module list, enable the latest and install using the following commands.
dnf module list mariadbdnf module enable mariadb:10.11dnf install mariadb mariadb-server
3. Next up, start and enable the service with the following commands.
systemctl start mariadbsystemctl enable mariadb3. Afterwards, start the installation process by entering the command below. Go through the set up options and select the ones you require.
mysql_secure_installation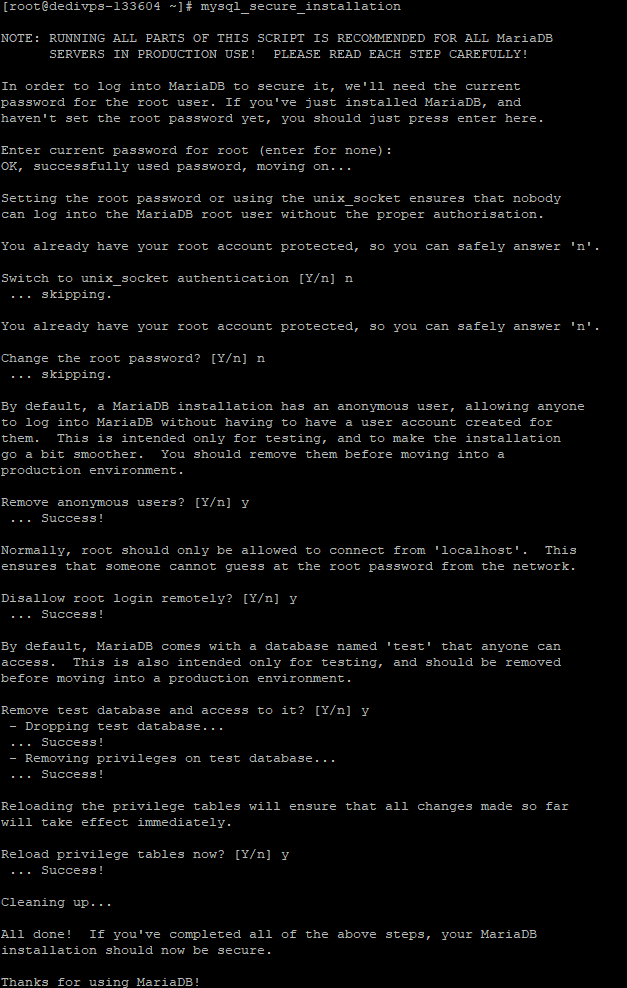
4. Finally, now that MySQL is installed and configured with a password you can test it works by using the command below and entering your password when prompted.
mysql -u root -pInstall PHP on Almalinux OS
1. First up, check the available PHP modules and select the latest or what is required for your application. The following commands will do both in that order.
dnf module list php
dnf module enable php:8.22. With the correct PHP version installed, install the following extensions so that you everything functions correctly.
dnf install php php-fpm php-zip php-intl php-opcache php-gd php-mbstring php-gd php-xml php-mysqlnd3. Moving on edit your www.conf file to set up PHP-FPM to use NGINX, us the command below to open up the file in nano you can search using CTRL+W and enter.
nano /etc/php-fpm.d/www.conf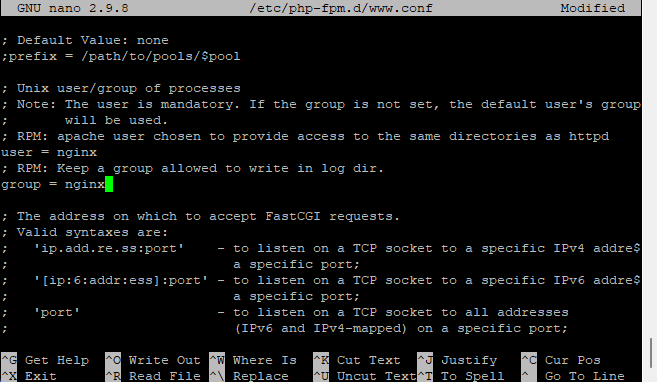
4. After that start and enable the php-fpm service with the following commands.
systemctl start php-fpmsystemctl enable php-fpm5. Finally test that PHP is working by running the following command, entering the PHP code and opening your server hostname or IP in your browser.
nano /usr/share/nginx/html/index.php<?php phpinfo();?>