How to install LAMP stack on AlmaLinux
Installing the LAMP stack (Linux, Apache, MySQL, PHP) on AlmaLinux is an excellent option for web hosting due to its proven reliability and performance. The LAMP stack powers a significant portion of the web, supporting both static and dynamic websites. Apache web server renowned for its flexibility, while MySQL and MariaDB provide dependable database management for handling web data. PHP forms the backbone of many modern web-based applications.
AlmaLinux is an open-source Linux distribution created as a direct replacement for CentOS, which reached its End-of-Life (EOL) on 30 June 2024 and will no longer receive official support. AlmaLinux aims to be binary-compatible with Red Hat Enterprise Linux (RHEL), a paid, closed-source distribution known for its enterprise-grade stability and long-term support, making it a reliable choice for businesses and users who previously relied on CentOS.
Using the LAMP stack on AlmaLinux offers several advantages: it is cost-effective due to its open-source nature, delivers solid performance, and ensures a secure environment with regular updates. The stack also scales effortlessly, making it suitable for everything from small personal projects to large enterprise-level websites. By following this guide, you’ll be able to quickly install and configure the LAMP stack on your VPS hosting service, ensuring your server is optimised for web hosting with minimal effort.
Preparing your new VPS
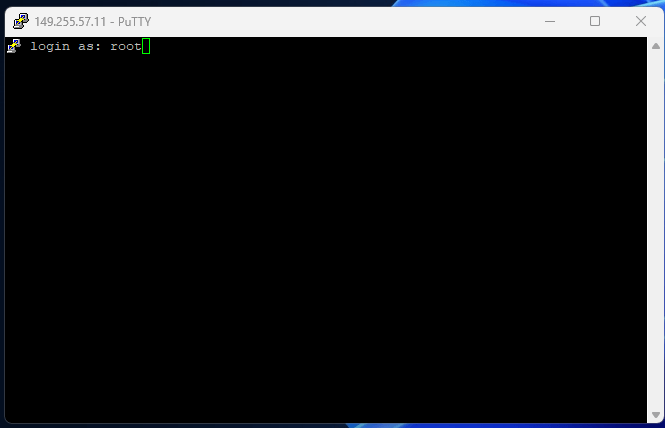
1. Log in to your VPS using PuTTY or a Terminal window using the details provided in your welcome email. You can enter either the server IP or hostname of your VPS.

2. As this is a fresh server first check that all the installed packages are up to date, you can do this with yum or dnf using the command below (for this guide we will use dnf). This will cycle through possible updates prompting a confirmation message.
dnf update3. To allow traffic to reach apache which uses ports 80 & 443 (http & https) you will need to open these ports in the firewall. To check which ports are open you can use the following command.
firewall-cmd --zone=public --list-services3.1 In the screenshot below you can see that at the moment on this VPS neither http or https is enabled so we’ll need to run the following commands and reload the firewall to apply them.

firewall-cmd –permanent -–zone=public -–add-service=httpfirewall-cmd –permanent -–zone=public -–add-service=httpsfirewall-cmd -–reload3.2 Moving on, to check that they have both been added you can check using the same command as earlier.
firewall-cmd --zone=public --list-services
Install & Configure apache
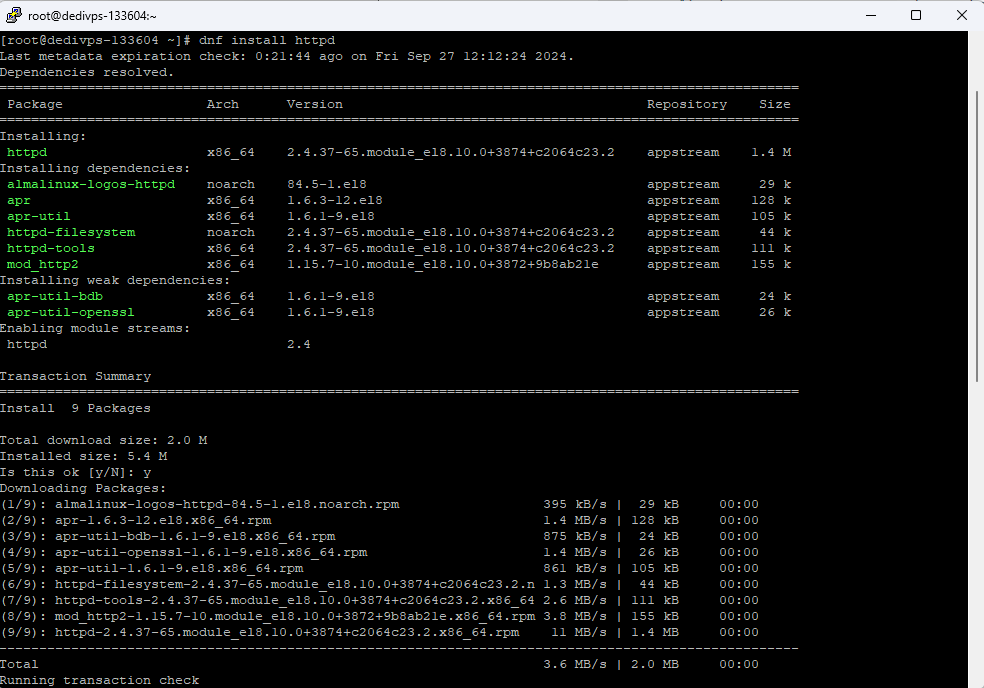
1. Now you can install apache or the httpd service using the following command.
dnf install httpd
2. Afterwards start and enable the httpd service with the following commands
systemctl start httpdsystemctl enable httpdInstall & Configure MySQL
1. First off start by installing both mysql and mysql-server with the following command. Entering Y when prompted.
dnf install mysql mysql-server2. Next up, start and enable the service with the following commands.
systemctl start mysqldsystemctl enable mysqld3. Afterwards, start the installation process by entering the command below. Go through the set up options and select the ones you require.
mysql_secure_installation4. Finally, now that MySQL is installed and configured with a password you can test it works by using the command below and entering your password when prompted.
mysql -u root -pInstall PHP on Almalinux
1. First up, check the available PHP modules and select the latest or what is required for your application. The following commands will do both in that order.
dnf module list php
dnf module enable php:8.22. With the correct PHP version installed, install the following extensions so that you everything functions correctly.
dnf install php php-fpm php-zip php-intl php-opcache php-gd php-mbstring php-gd php-xml php-mysqlnd3. Finally, to test your install add an index.php file with the contents shown below. Then restart the httpd service and open the URL.
nano /var/www/html/index.php<?php phpinfo();?>service httpd restart