How to add your SSH key to your VPS
SSH (Secure Shell) is a network protocol enabling secure connecting and management your VPS via a command-line interface (CLI). It’s ideal for advanced users, enabling faster and therefore more efficient server administration.
Most Linux distributions and macOS support SSH out of the box. However, when using Microsoft Windows (especially older versions) some users prefer additional software, such as PuTTY, to connect via SSH as it offers a more streamlined user experience.
With our VPS hosting & Dedicated Cloud Hosting , you have full root access to your server, giving you the flexibility to choose between SSH keys or password-based authentication. However, disabling password-based authentication and using key pairs offers stronger security and is therefore recommended.
In this guide, you’ll learn how to generate SSH key pairs via the CLI, securely save the private key to your local machine, remove it from your VPS, and then disable password-based authentication. If you prefer and are using Windows you can also add the private key generated with PuTTYgen to the server as shown below.
Adding your SSH key with PuTTYgen
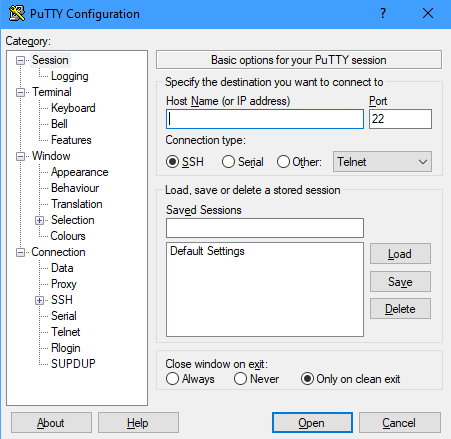
1. Log in to your VPS using PuTTY or a Terminal window using the details provided in your welcome email. You can enter either the server IP or hostname of your VPS.
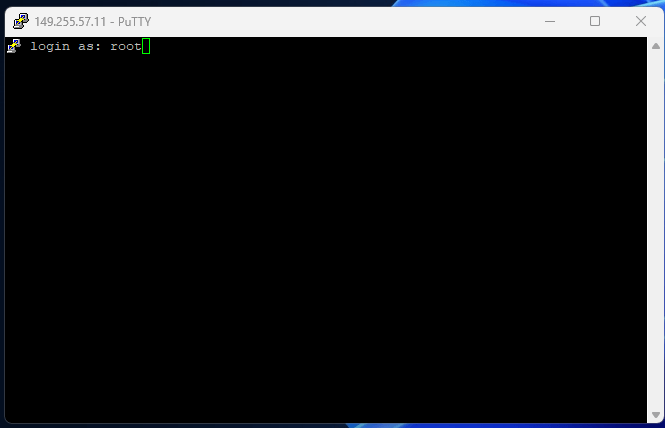
2. You will be prompted to “login as”. From here enter root as shown below.
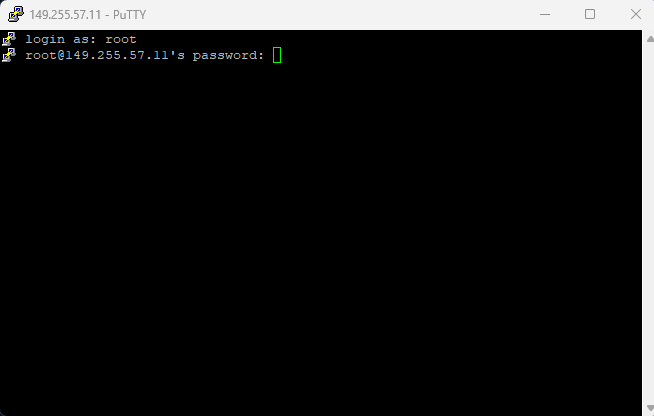
2.1 You will then be prompted for the root password. Paste or copy your VPS password as shown in your welcome email, this logs in as the root user of the server with full privileges.
3. Now you are logged in over SSH you can start the process for adding your key.
3.1 Start by creating the /.ssh directory to hold your SSH key.
mkdir -p ~/.ssh3.2 Now make sure the directory has the correct permissions.
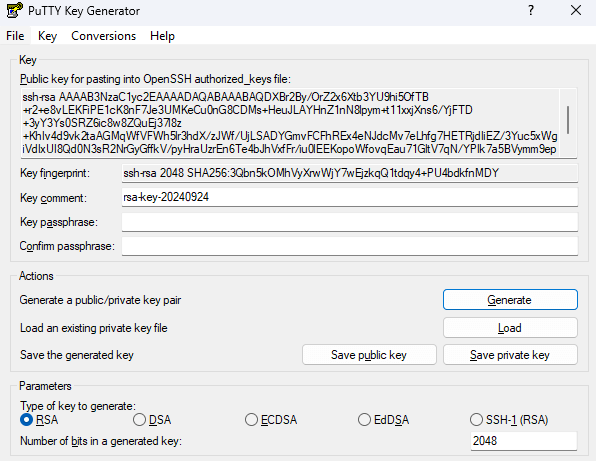
chmod 700 ~/.ssh3.3. Finally, prepare to create the the authorized_keys file and input your SSH public key. You can get this from PuTTYgen as shown below. Copy it to your clipboard using CTRL+C or by highlighting it and right clicking copy.
4. To actually create the authorized_keys and add your key you can use nano or another CLI text editor. The command below uses nano.
nano ~/.ssh/authorized_keys5. Paste your key in the text editor by right clicking and then to save the file click CTRL + X together and click yes as shown below.
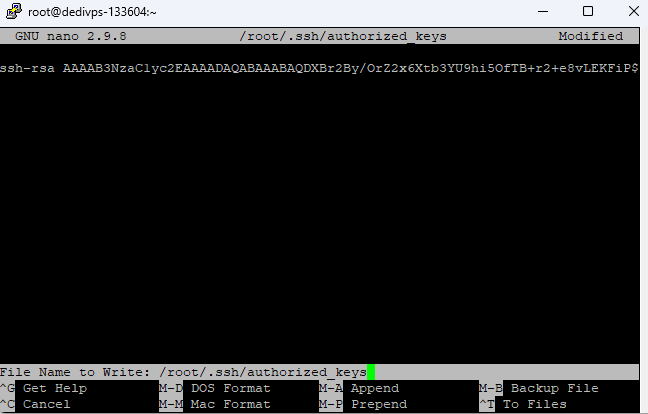
6. Finally set the permissions for the authorized_keys file correctly using the below command.
chmod 600 ~/.ssh/authorized_keysDisallow Password logins
1. Start by entering the following command which opens the sshd config file.
nano /etc/ssh/sshd_config2. In nano you can search for terms or characters using CTRL+W, do this now and search for PasswordAuthentication.
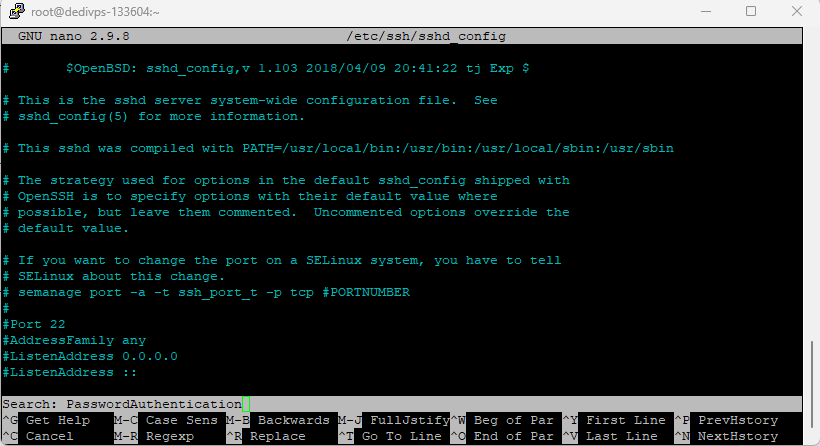
3. Using the arrow keys navigate to the uncommented line and change Yes to no. Then using CTRL+X save your changes.
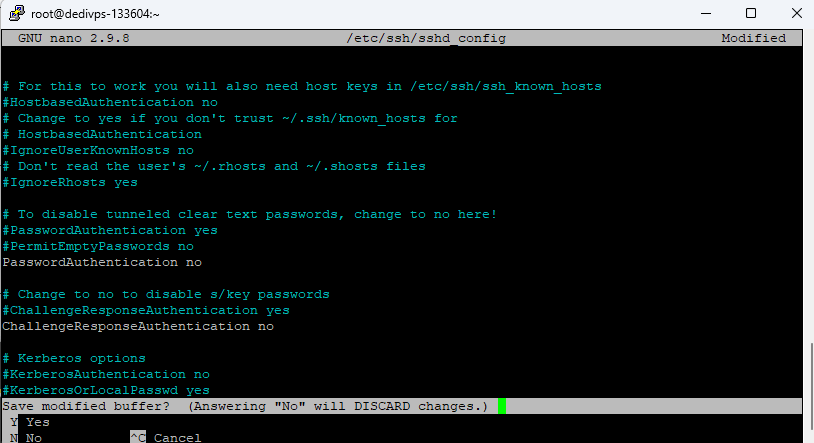
4. To activate these changes you can restart the sshd service using the following command
service sshd restart5. To confirm that everything is working you can try reconnecting to your server. The easiest way to do this is by opening your key in pageant, once that’s loaded try connecting to your server entering root as the user
