
Use the feature manager in WHM
By using the Feature Manager tool in WHM you can create custom feature lists for existing hosting packages. This gives you even more control to what features you customers can access as part of their hosting plan with you.
Creating a feature list
1. First off you will need to access your WHM area to create an apply features lists.
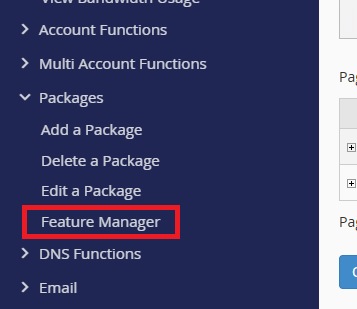
2. After you have logged in, expand the packages menu in the sidebar as shown and click on “Feature Manager”.
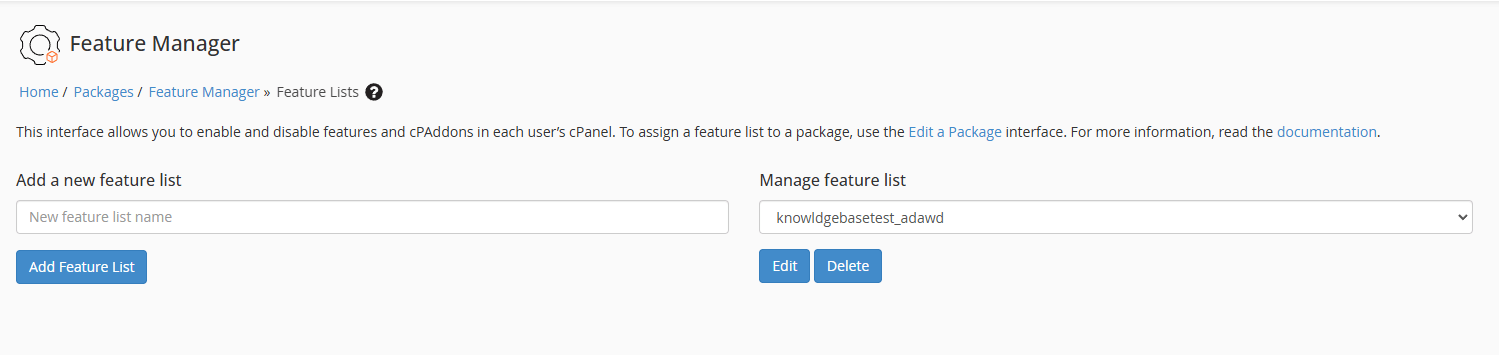
3. Moving on, you are now at the main feature manager area which shows both Creation and Management options.
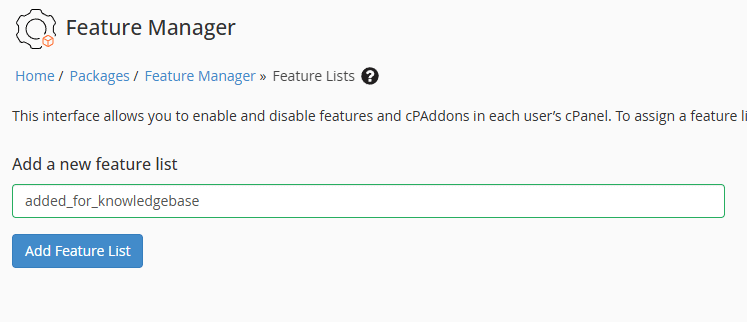
4. Now using the Add a new feature list box enter a name for your new list and click the “Add Feature List” button when you are ready to proceed.
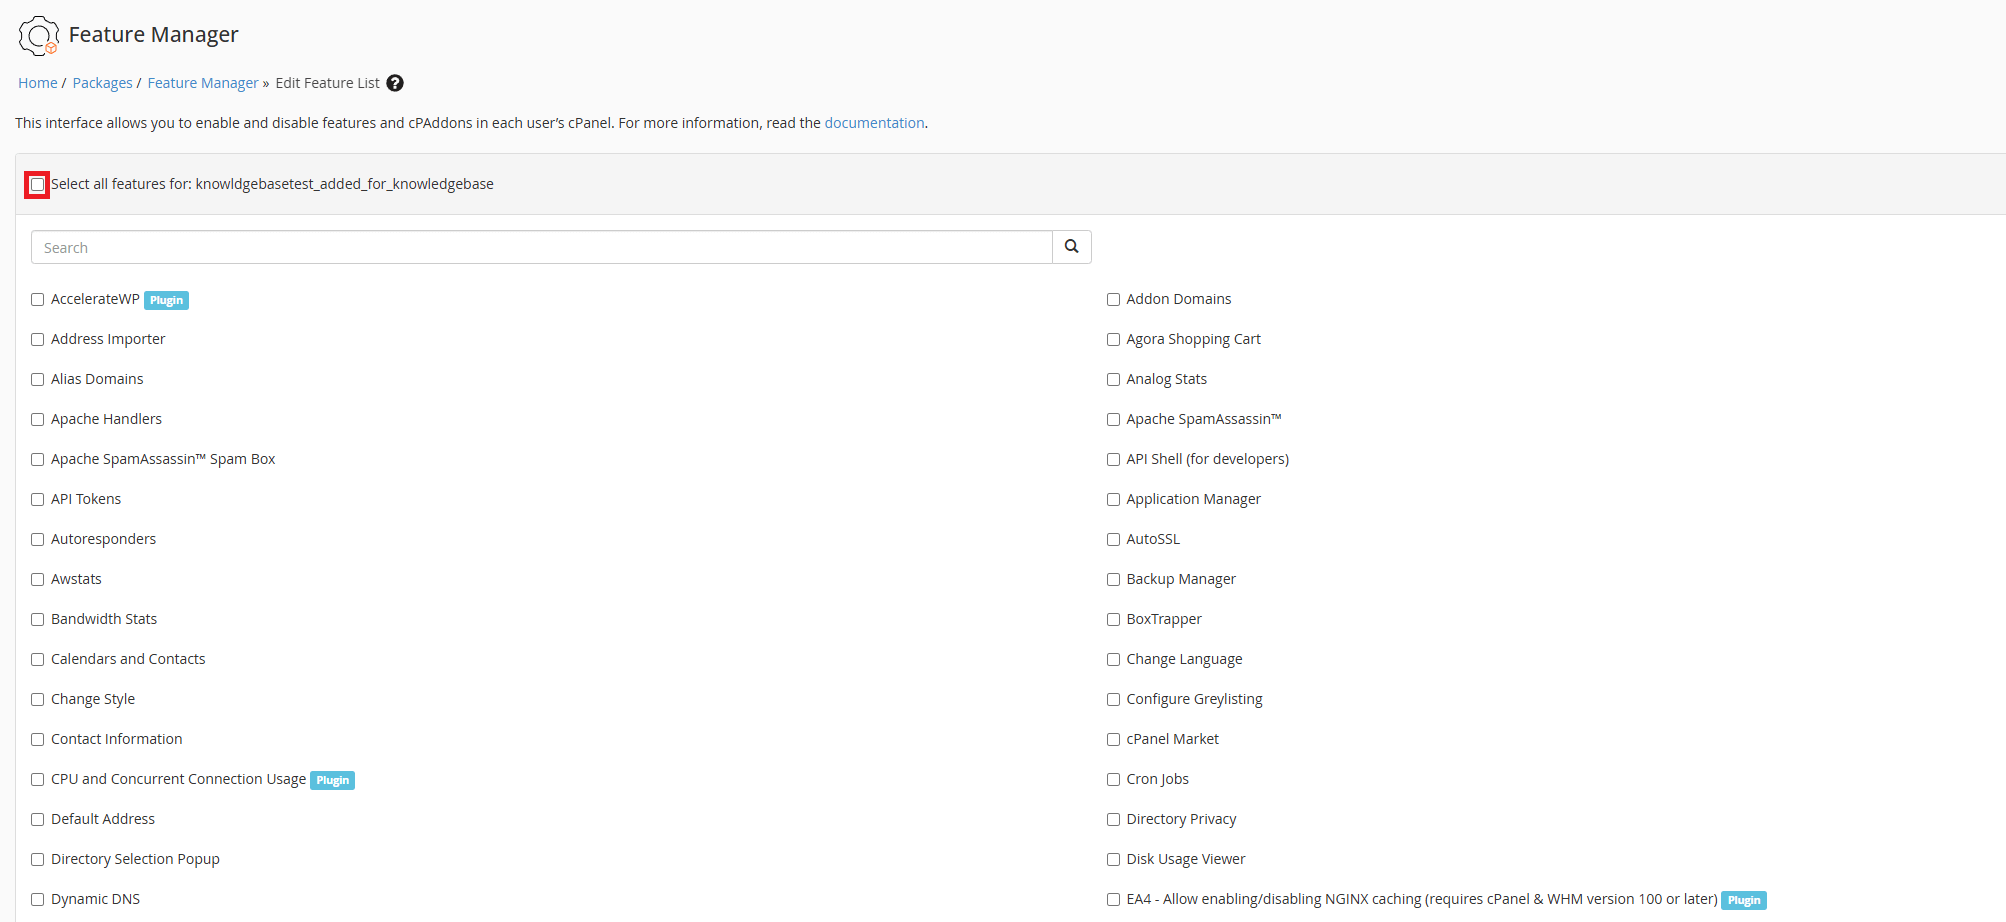
5. From this page a number of selectable features for your list will be visible, for the purposes of this guide we will use the “Select All” function as shown. This will give that package access to all of those selected features (if available to you).
6. After selecting those features navigate down to the page and click the “Save” button to save your list.

7. Finally if you have been successful in creating your feature list you will see the following message.
Editing or Delete existing feature list
- To edit or delete a feature head back to the main feature list area.
- Use the drop down to select a list.
- Click on either the Edit or Delete buttons to proceed.
- Follow on using the information in above.