
How To Manually Migrate A Website
Migrating your website from a non-cPanel hosting provider to a reseller account may seem daunting, but following these steps will ensure a smooth and successful transition. While cPanel-based backups aren’t an option for non-cPanel hosts, you can still manually transfer your website files, databases, and email accounts efficiently. This guide will walk you through the necessary steps to complete the migration successfully.
1. Create a New Database in Your Reseller Account
Begin by creating a new database in your reseller account. This will serve as the destination for your website’s database.
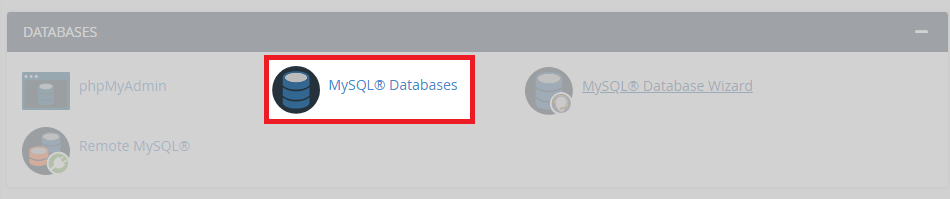
- Log into your reseller hosting account and navigate to the database section.
- Create a new database and note down the database name, username, and password.
2. Export and Import the Database
Next, export the database from your old hosting account and import it into the new database you created. In some cases the database will be to big to import with PHPMyAdmin, at this point you will need to use SSH to import SQL.
- Log into your old hosting account’s control panel or database management interface (like phpMyAdmin).
- Export the database to a .sql file.
- In your reseller account, use phpMyAdmin to import the database into the new one you just created.
3. Transfer Your Website Files
Now, it’s time to move your website files.
- Use FTP to access your old hosting account and navigate to the folder where your website files are stored.
- Download all the files to your local machine.
- After downloading, upload these files via FTP to the appropriate folder in your reseller hosting account. Typically, this will be the public_html folder, but check your reseller hosting settings to confirm the correct location.
4. Transfer Email Accounts
If you’re also migrating email accounts, you’ll need to manually recreate email addresses in your reseller hosting account. Once done, migrate the email data or back it up from your old host.
5. DNS Configuration
Once all your website files, databases, and email accounts have been successfully transferred, it’s time to update your domain’s DNS settings.
- Log into your domain registrar account and update the domain’s nameservers to point to your new reseller hosting account.
- Allow up to 48 hours for the DNS changes to fully propagate, you can check this using a reliable propagation checker.

6. Testing and Verification
Finally, it’s time to test everything to ensure the migration was successful.
- Check that your website is loading properly by visiting it with the new domain settings.
- Ensure that all databases are functioning as expected and that email accounts are operational.
- Verify all links and forms on your site are working correctly.