
Set up Mail Autoresponders
An email autoresponder is easy to add in cPanel. Autoresponders make up part of essential CRM practices, making sure that interactions with your customers flow in a manner that promotes your business and therefore your products. By having auto-reply type features enabled for certain emails, you better position your business for a number of situations. Email autoresponders can handle every incoming email efficiently, ensuring timely and personalized responses.
A good example of effective autoresponder usage would be setting up an out-of-hours response for customer inquiries or sending a confirmation upon receipt of an email. This is a solid example of good business process management by taking an essential task that is both repetitive and time-consuming and introducing automation via pre-configured auto-responses.
Set up autoresponders in cPanel
1. First log into your cPanel control panel.
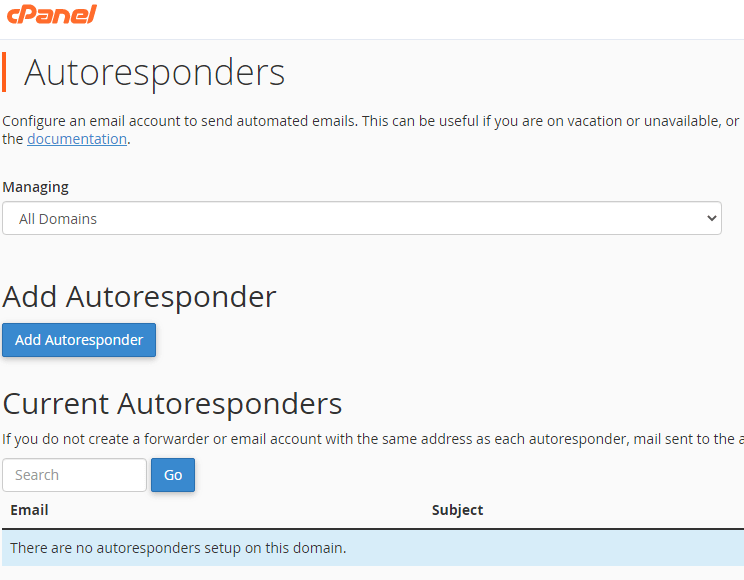
2. Afterwards in the email section click on autoresponders, this leads to the autoresponder tool.

3. Next up, click Add autoresponder where you can manage your email domain settings effectively.
Configure the autoresponder
In the below image, make a note of the tag details at the top of the page, these aid the process of designing a killer autoresponder message with various configuration options. Autoresponders can also be set up for a specific email address to manage customer communications effectively. Carry on to the configuration below.
1. Leave the character set as UTF-8
2. Now, after selecting the character set, enter the email name then using the drop-down menu select the domain.
3. Then you can start entering the content of your autoresponder using the from, subject and body fields. Remember the tags!
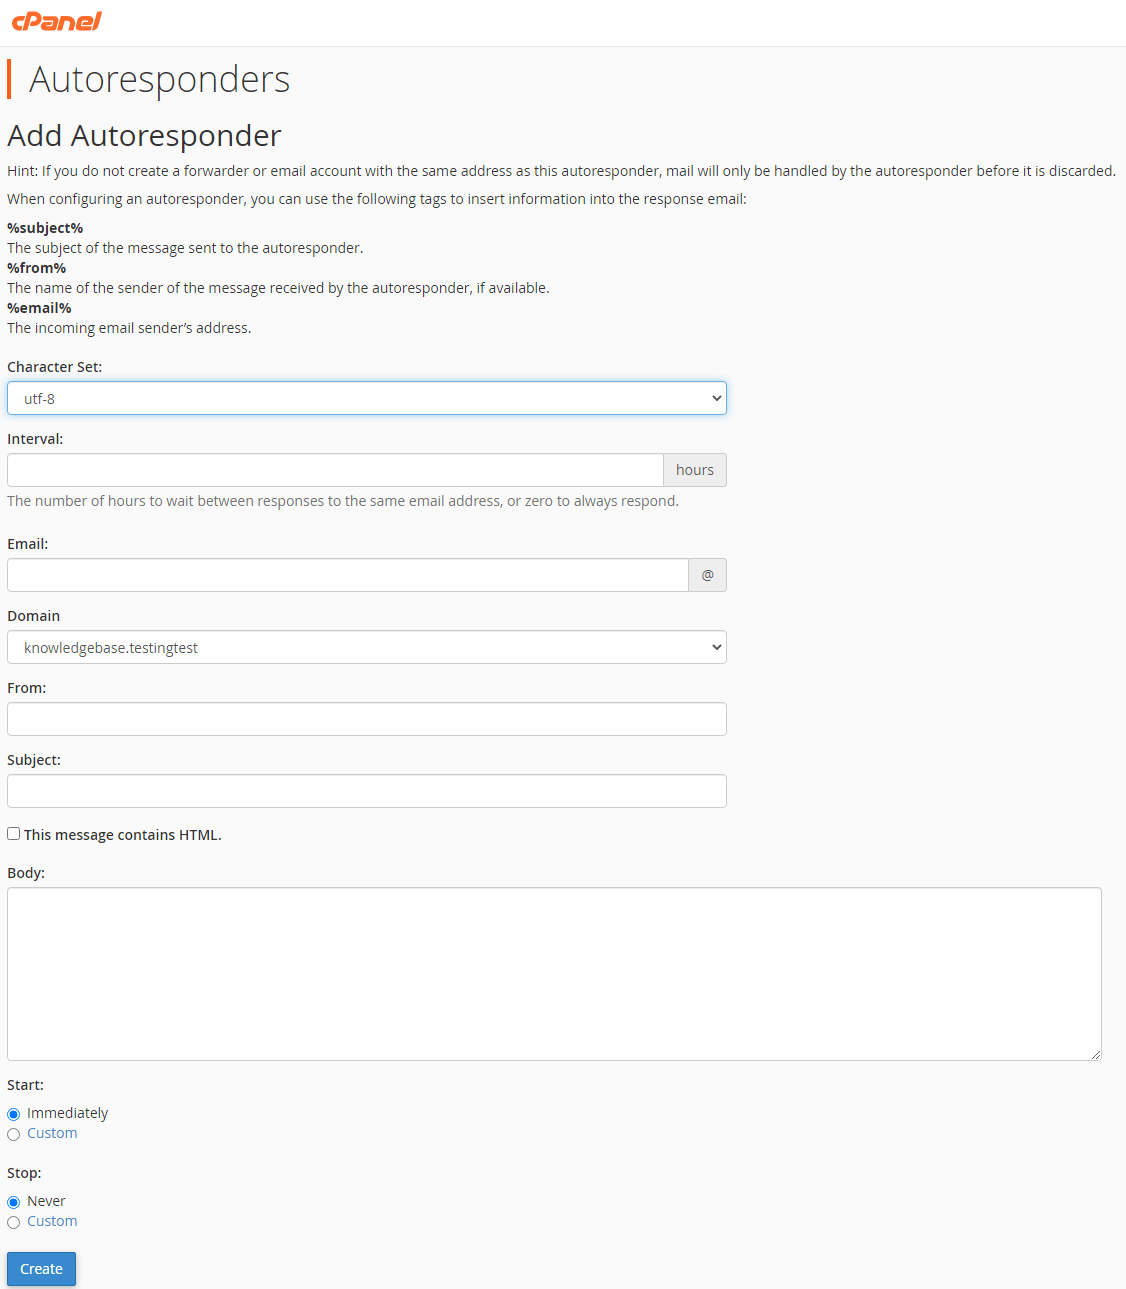
4. Finally, you can configure when the autoresponder starts and stops. Only need a temporary, make it temporary! To finalise the setup, click Create.