How to download PuTTY SSH client
PuTTY was originally developed for Windows and is an open source terminal emulating mainly used for SSH connections. Although Windows, Linux (some distributions) and macOS have built-in SSH clients, PuTTY has some advantages that make it a old-time favourite for many users.
Windows
Windows has a built-in OpenSSH client (available in Windows 10 and later) that can be accessed via Command Prompt or PowerShell. PuTTY’s GUI makes it more accessible to users who are not familiar with command line tools and, it’s overall portability is another advantage as a standalone executable version enabling PuTTY to run without installation which is very useful in restricted environments.
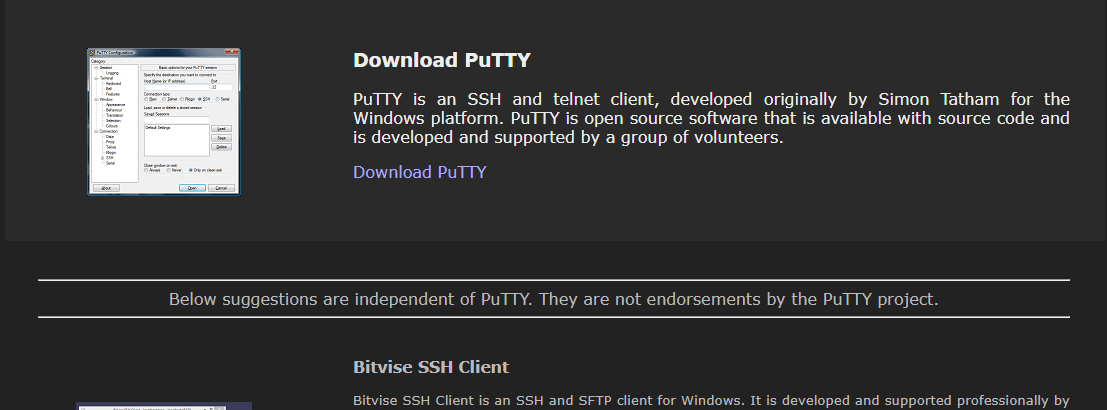
1. Start by visiting the official PuTTY website. Then click the “download PuTTY” button to be redirected to the mirror site.

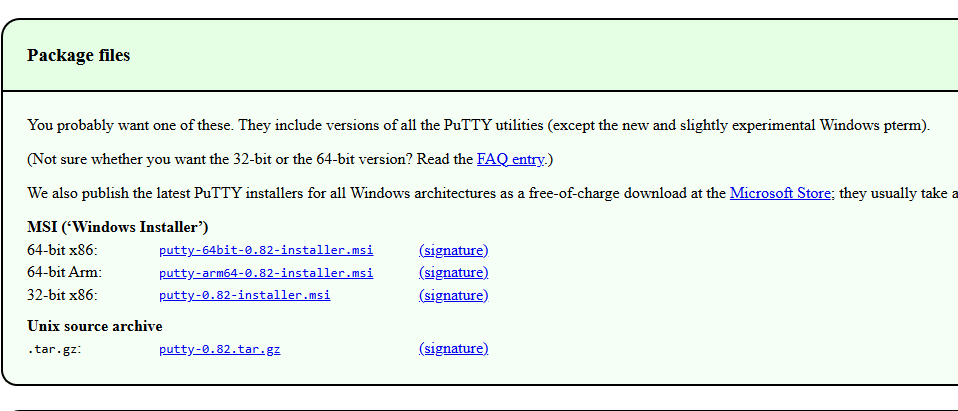
2. From the mirror site, choose the correct version for your system type (either 32 or 64 bit), then download the installer.

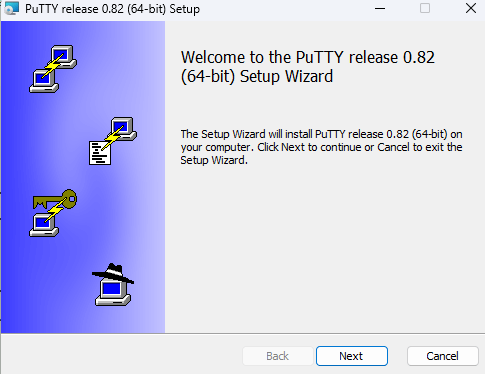
3. By clicking on the downloaded installer, start the installation process. From here you can configure PuTTy as you want it including associating .ppk file extensions with PuTTY and Pageant the included SSH agent.

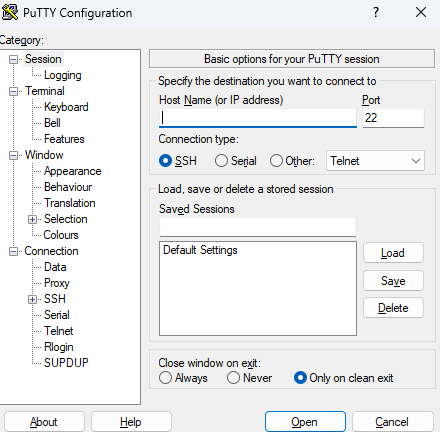
4. Finally, with the installation completed you can run PuTTY and start configuring your connections.

Linux (Debian 12 and similar)
Most Linux systems have OpenSSH as standard, in some cases PuTTY might still be a suitable solution on Linux as its more suited to debugging, using raw sockets and serial port connections. And, you might just feel more comfortable with it.
1. Open a terminal window and enter the following command to start the installation process.
sudo apt-get install putty2. To install additional PuTTY tools use the command below.
sudo apt-get install putty-tools3. Finally, launch PuTTY and happy connecting!
macOS
macOS has a built-in SSH client that is easily accessed via terminal. PuTTY can be installed for extra features and familiarity.
Homebrew install
Start by opening a terminal window and then enter the command below.
brew install puttyMacPorts install
Similarly, in the terminal window enter:
port install putty