How to edit your DNS zone
The ability to make changes to your DNS zone easily is a key feature of a web hosting service. Both the Zone Editor tool in cPanel and the DNS Editor in Plesk enable stress free management over DNS records for domains set up in either control panel. Allowing creation, modification and, deletion of critical records including A, CNAME, MX and TXT.
In most cases records set up at account creation will not need to be changed, providing your domain is using our default nameservers. This is because those default records are preconfigured to work with the nameservers, ensuring proper routing for the domain to the server, email, and other key services.
Using the cPanel Zone Editor
1. First start off by logging into your cPanel control panel.
2. Afterwards from the main page of cPanel scroll or search for the Domains section and click on Zone Editor.

3. Moving on, you can make quick record changes to a domain using the action buttons for the record type including A, CNAME, and MX records.

4. For more specific changes and overall management click Manage next to the domain. This area shows the zone records for that domain and from here you can add additional records. Edit, delete existing records or completely reset the DNS zone.

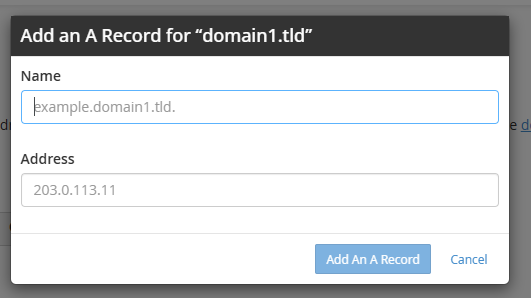
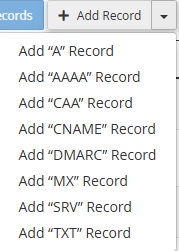
4.1. You can add a record using the drop down menu shown, selecting the record type required.

4.2 To edit a record, click the Edit action button for that record as make any changes you need and then use the Save Record button to apply those changes to the zone.

4.3 Finally, using the Actions dropdown menu you can reset the entire zone for that domain to its default state to do this click Reset DNS Zone.

