
How to disable the wp-cron.php in WordPress
Posted November 2, 2016 by Unlimited
In WordPress, a file called wp-cron.php is used to schedule tasks and automate some processes, such as publishing posts and so on.
WordPress is set up to call wp-cron.php everytime someone visits your site and there is a scheduled task present. WordPress calls the file and checks if anything is due to run, or be posted, and so on.
This doesn’t really make a difference to low traffic sites, but when your site starts receiving higher numbers of visitors it can impact on the load speed of your site and create resource usage issues.
In this blog post we will be showing you how to disable the wp-cron call, and how to set up a cron job to call the wp-cron every six hours.
Disabling the wp-cron.php default behaviour
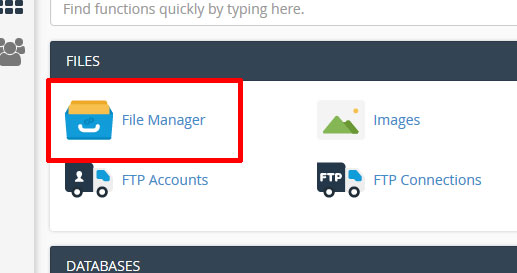
Login to your cPanel and click on the File Manager.
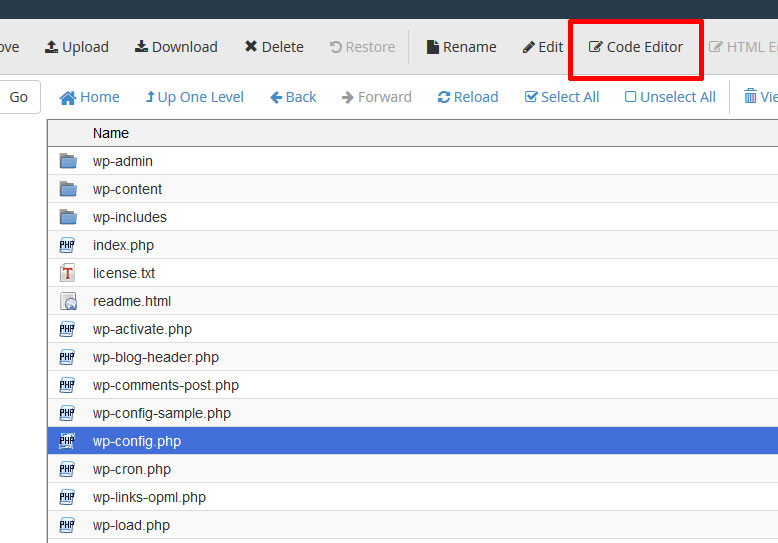
Navigate to the wp-config.php file, select it and then click on the Code Editor.
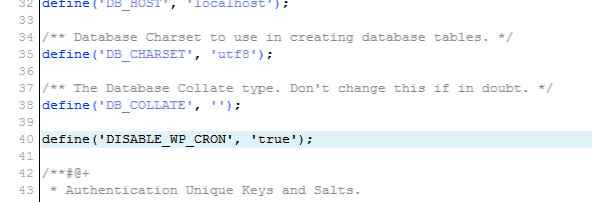
Press ctrl-f to bring up the serach box for the Code Editor, and enter DB_COLLATE. Underneath the line with DB_COLLATE in it, add the following code –
define(‘DISABLE_WP_CRON’, ‘true’);
It should look like this –
Click save changes in the top right.
WordPress will now NOT automatically run the wp-cron.php file everytime your site has a new visit.
Setup a manual cron to run wp-cron.php
The next step is to setup a manual cron that will call the wp-cron.php. We will set it up to call every six hours.
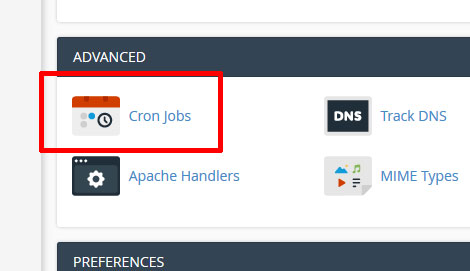
Login to your cPanel, scroll down to the advanced section and click on Cron Jobs.
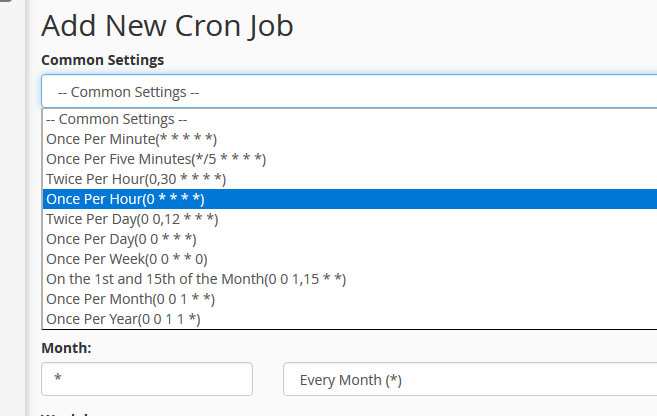
In the common settings drop down, select Once per hour.
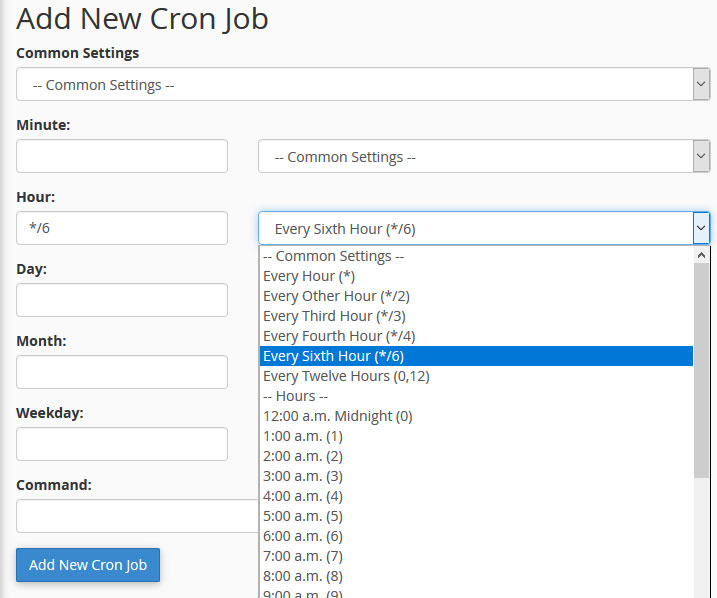
Select every sixth hour from the hour settings dropdown.
Add the following code to the Command field –
cd /home/username/public_html; php -q wp-cron.php
Replace username with your cpanel username, in this example uwhvideo –
cd /home/uwhvideo/public_html; php -q wp-cron.php
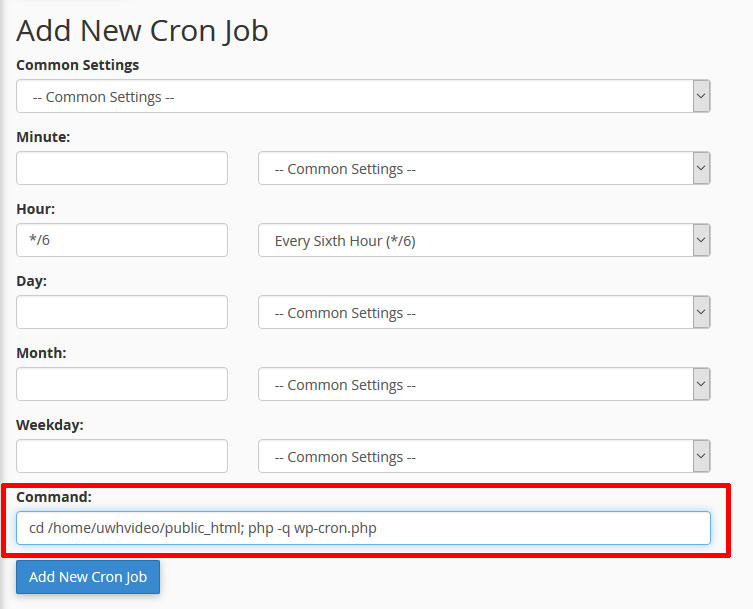
Remember, the example path shown here is for a primary domain. If you are using an addon domain, or your WordPress installation is in a sub-directory you will need to alter the path accordingly.
Click Add New Cron job.
You will get a message confirming the job has been added, and you will be able to see it in the Current Cron Jobs list.

